
Blogging Photography: Photoshop 101
Easy tricks to use Photoshop for beginning bloggers and Photoshop beginners. Editing with Photoshop might be scary but in all honesty you just need to know the basics and you will see how elementary it is.
Blogging Photography: Photoshop 101

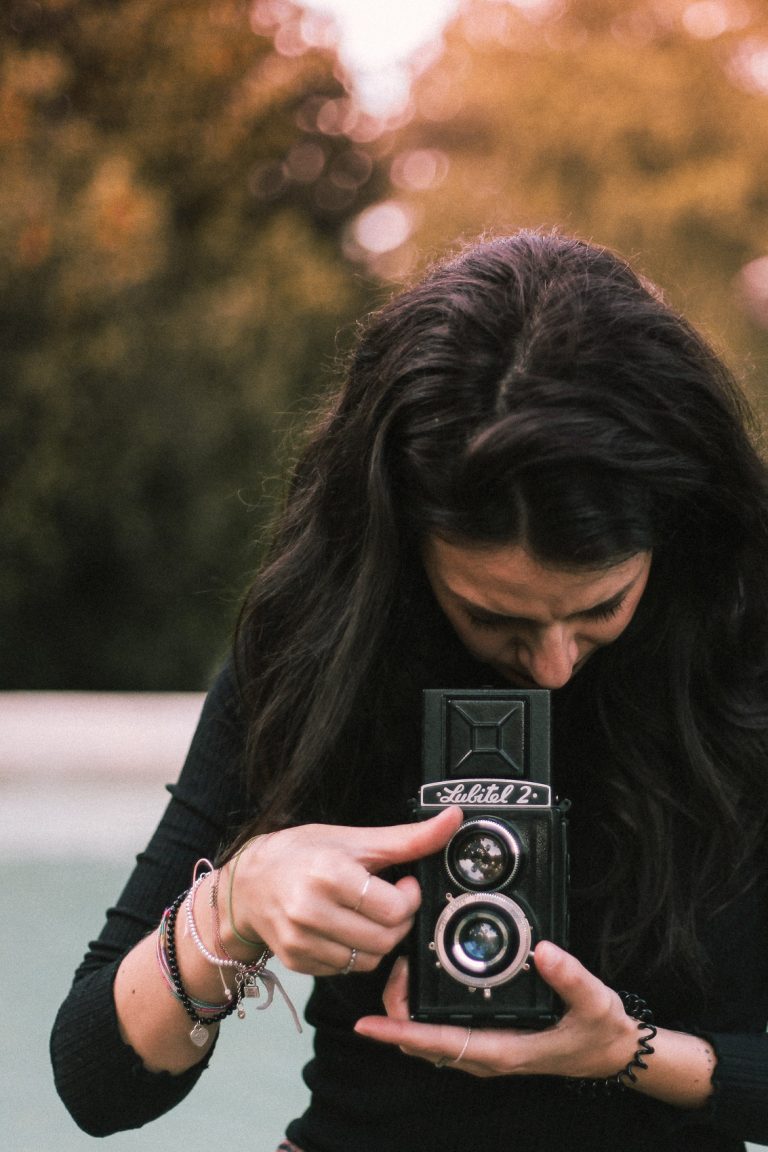
Okay, time for one of my favorite posts regarding photography and blogging. Today I want to talk about Photoshop for Beginners and for Bloggers.
I won’t write a lot because I believe that when you’re looking for ways to improve your blogging photography, you don’t have a lot of time and you only want the important pieces, the How-To, at least that’s the usual me.
Let’s start.
THE BASICS
- How can I eliminate that dull layer on every picture I take?
What do you mean? Look at the picture below, on the Before side, you see how dark – no matter that the pic was taken inside a room and not outdoor – you see how everything looks horribly grey?

HOW TO IMPROVE IT WITH PHOTOSHOP
This is the basics you usually need to check on every picture you take – meaning outdoors pics too. Go to Imagine > Regulations > Tone Values. (I am translating the names from the Italian version, so they might differ a little, please let me know if so!)
- Tone Values: there’s a graph and from the right part and the left one, it should be where the curve starts (picture below).

After that, still in Regulation, you then go to Curves. Imagine > Regulations > Curves
- Curves: another graph, don’t be scared. My rule is just make 2 moves: go higher on the right side of the diagonal line, and down on the left. Always just a little (see picture below).

WHITENESS
- How on earth are my fav bloggers’ posts always on point, with a perfect white background?
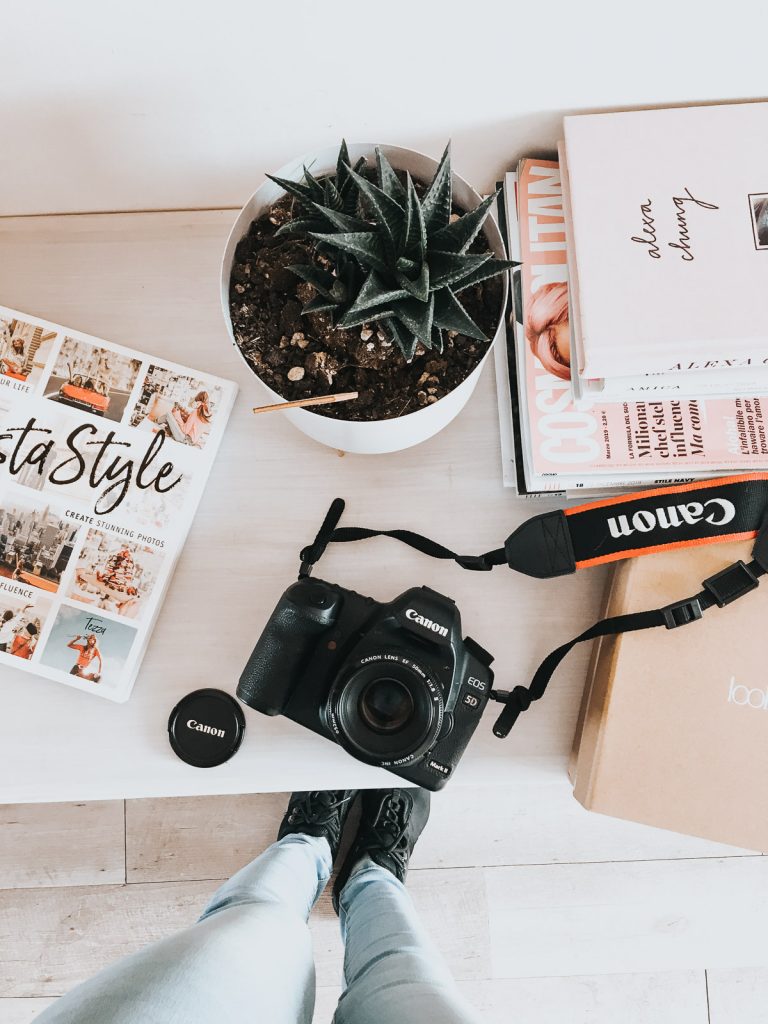
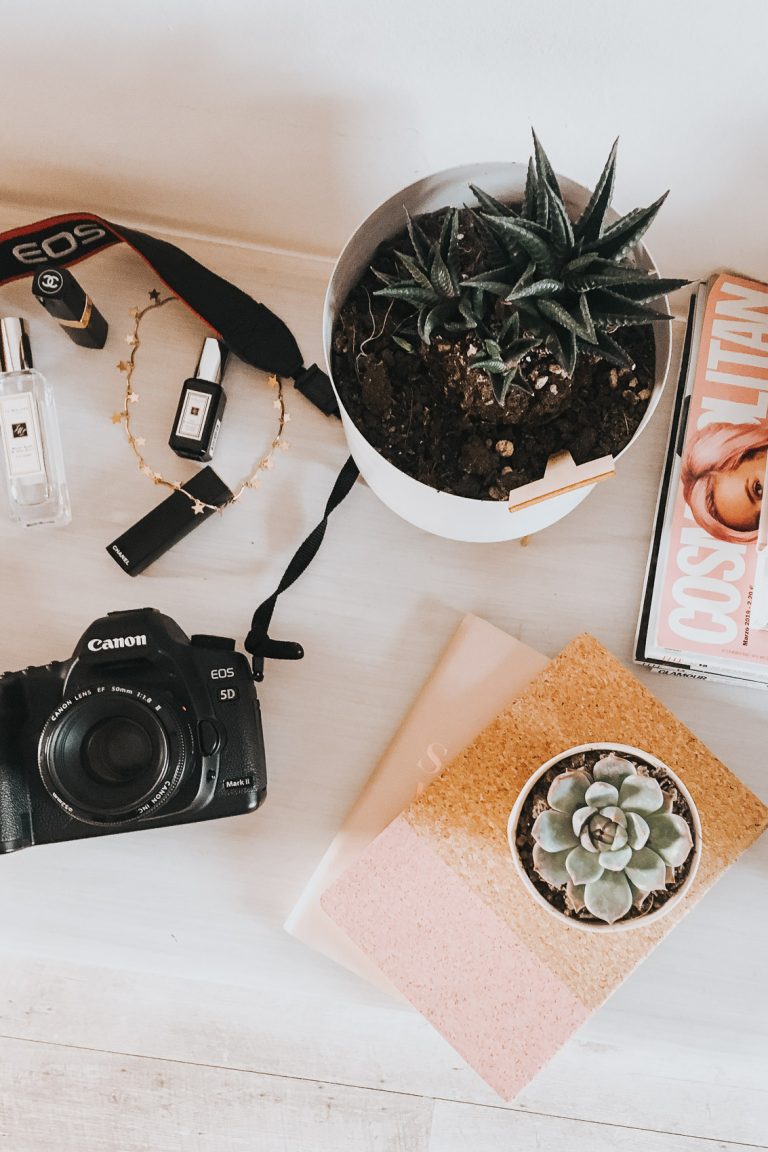
I am thinking of WishWishWish or IntheFrow pictures. Secret revealed: usually it is the camera and most of all the lens that helps a lot. But we don’t always own a Canon 5D, so Photoshop becomes our best friend.

HOW TO IMPROVE IT WITH PHOTOSHOP
After having done Tones & Curves, it is time to get the white a proper white with no blue or yellow undertones.
Go to Imagine > Regulations > Brightness (Vividity – Vividezza in Italian, the one before Tone/Saturation)
- Brightness: play with saturation and with how intense you want it. I usually go down of 10/12 points, no more than that. But it is totally up to you.
COLORS
- How to have those Vscocam effects on my pictures?
Meaning giving the picture (below – before) some interesting appeal through colors (below – after) without creating layers over layers of colors.

HOW TO IMPROVE IT WITH PHOTOSHOP
Guess what, again Imagine > Regulations > Colors Balance or Balancing Colors.
- Colors Balance: play with Shadows, Halftones and Lights and all those pretty colors. Just be delicate: +5/6 / – 3/4. And you can obtain the After picture above.
Little Tip: all of these suggestions above are made directly on the image, if you wish to have them on a layer above the image to have it more or less intense, you can do so by going to Level > New Regulation Level > Curves/Tone Values/etc. And you control the same tools, just not on your photograph but on an invisible level on top of it.
***
Photoshop can be scary but after you play along with it a few times, it gets better, I think that when you don’t have a proper fancy camera and lens, this is seriously your new bff, don’t you think?
 Do you use Photoshop? More tips?