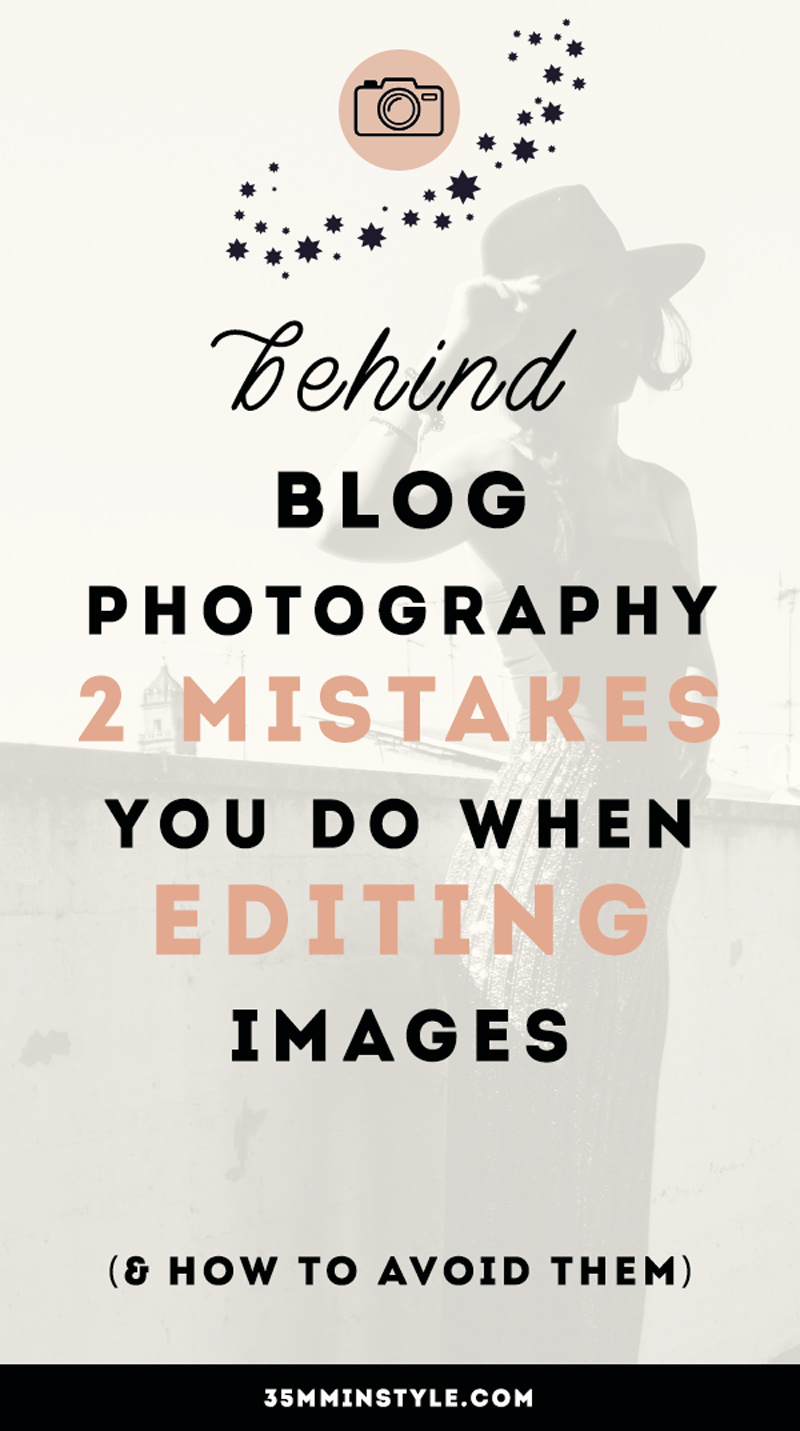
Behind Blog Photography: 2 common editing mistakes every blogger makes
The world behind blog photography is very wide and as a blogger and professional photographer, I can tell you something about post-production: 2 common editing mistakes every blogger makes. And how to avoid them.

Today I thought of sharing something I find really important in the world of photography for bloggers or for any content creator who struggles with images. This guide will be very helpful if you need to edit images for your Instagram page, Facebook page or Pinterest profile.
Follow me in my little guide and you will avoid doing these two very common editing mistakes. Every blogger during her/his blog-life stumbles in al least one of these two mistakes. And guess what?
Guilty! I have done them too!
When I am over excited over a photoshoot I have taken or it was taken by a friend of mine, I get overboard with editing images.

Behind Blog Photography: 2 common editing mistakes every blogger makes
(& how to avoid them)
With my insight I wish to save some time (God knows how important is time nowadays!) helping you to immediately recognise two of the most common mistakes in editing.
Whether you have some images to retouch and they need to go to over your:
- blog/website/e-commerce
- Instagram feed or stories
- Pinterest page
- anything basically
I am here to show you what you unconsciously do but shouldn’t do! Firstly it will save you a lot of time, second you won’t get burnout for not achieving your desired outcome and third, you are gonna have blog or ____ (insert one of the previous social media from the list) ready images in a second!
But first…
READ ALSO: What is Blog Photography and Photography for Bloggers?

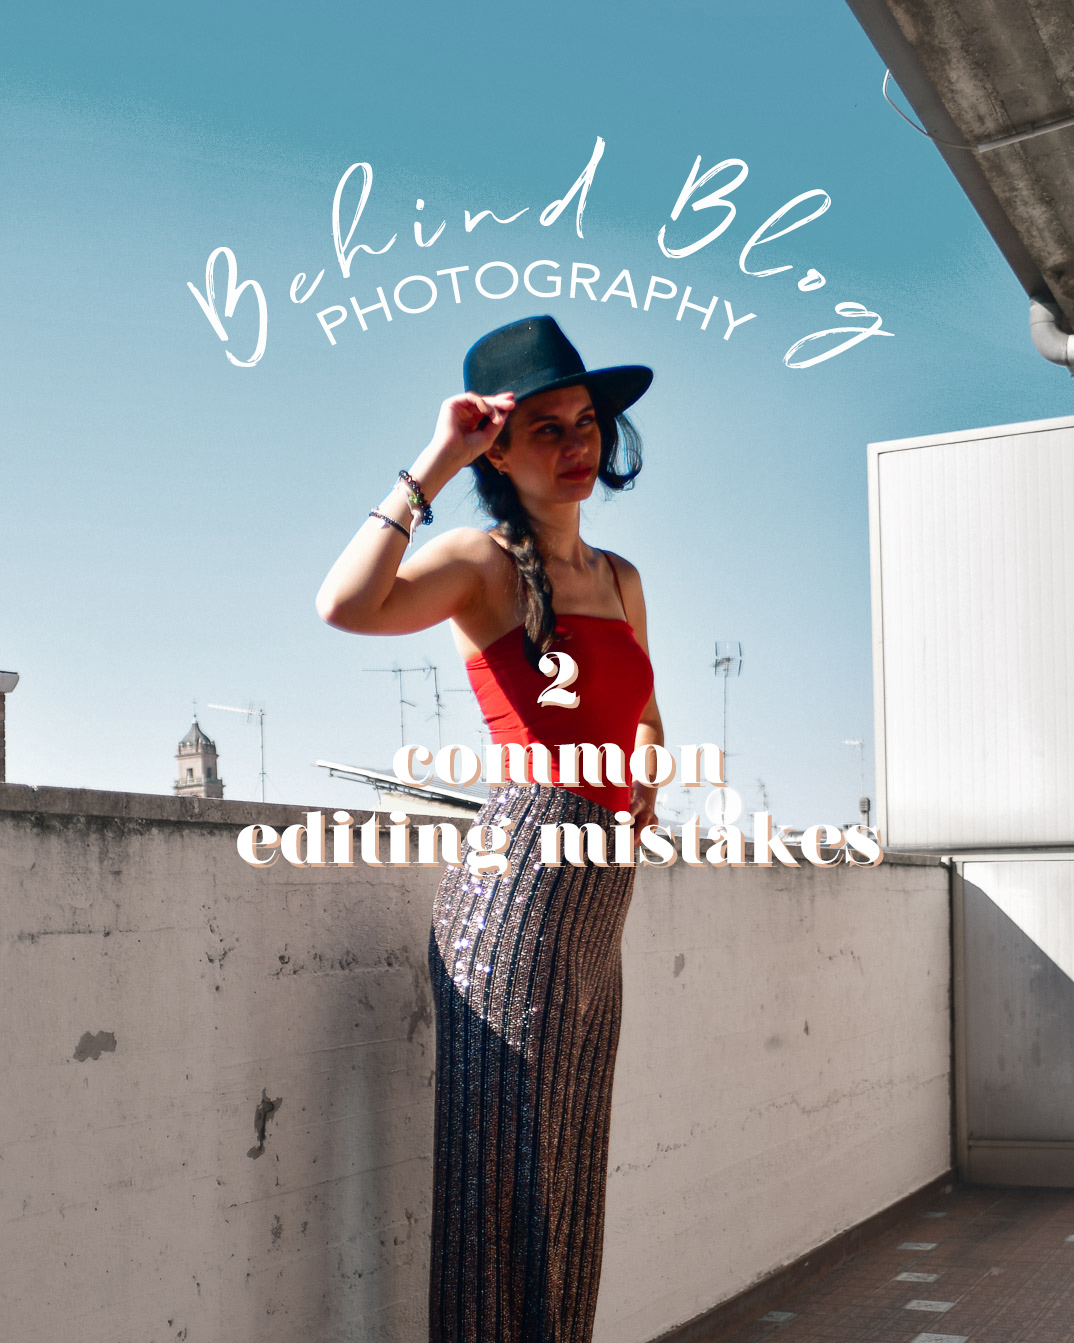
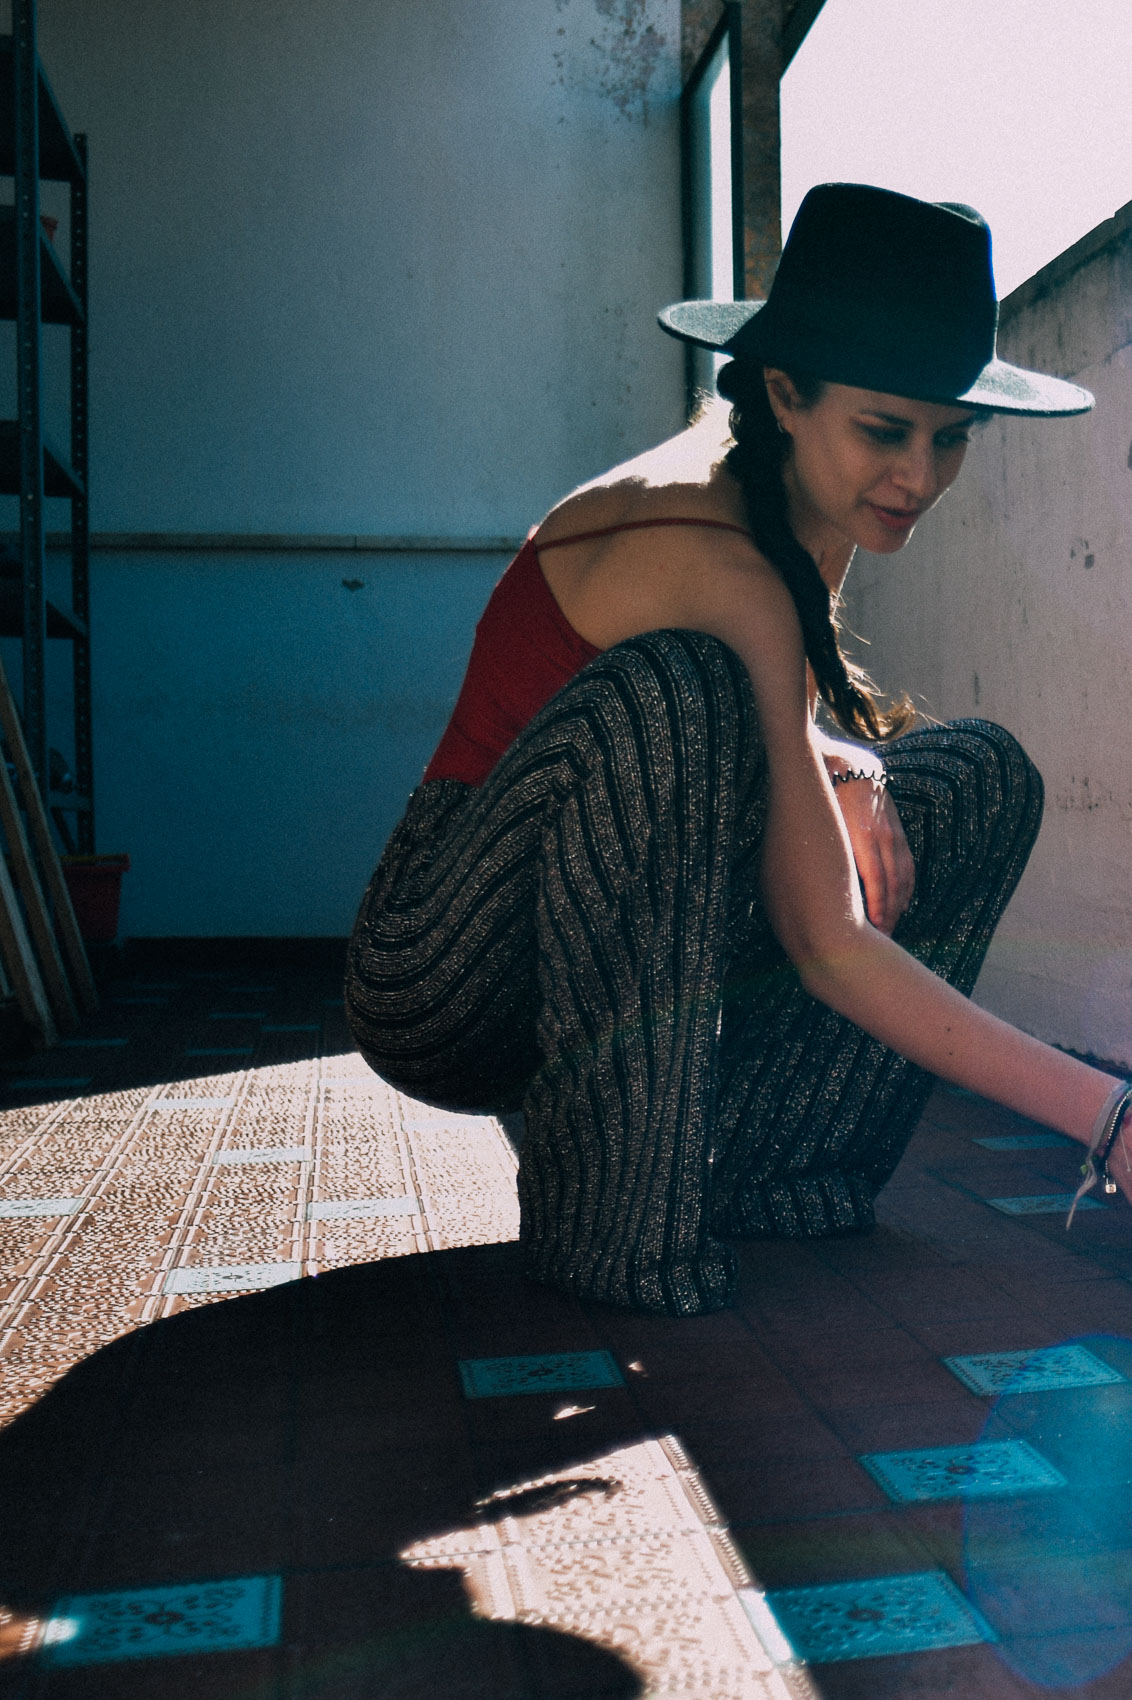
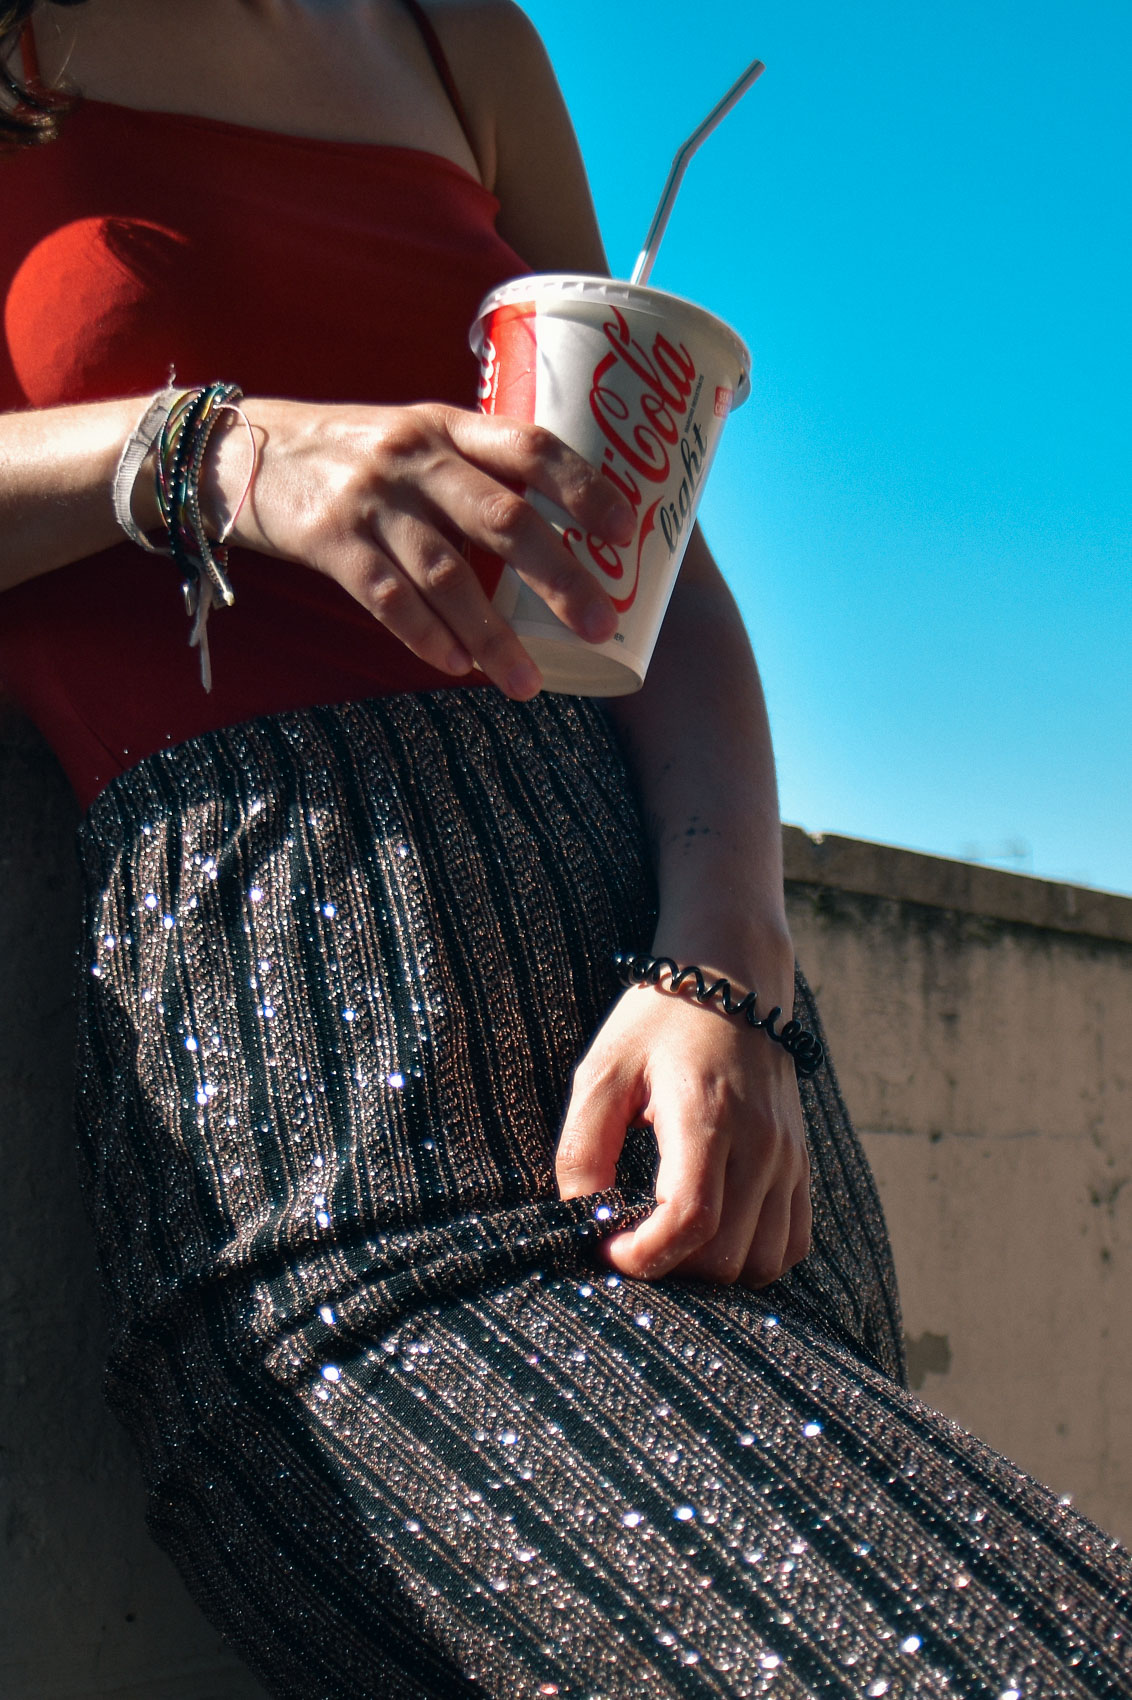
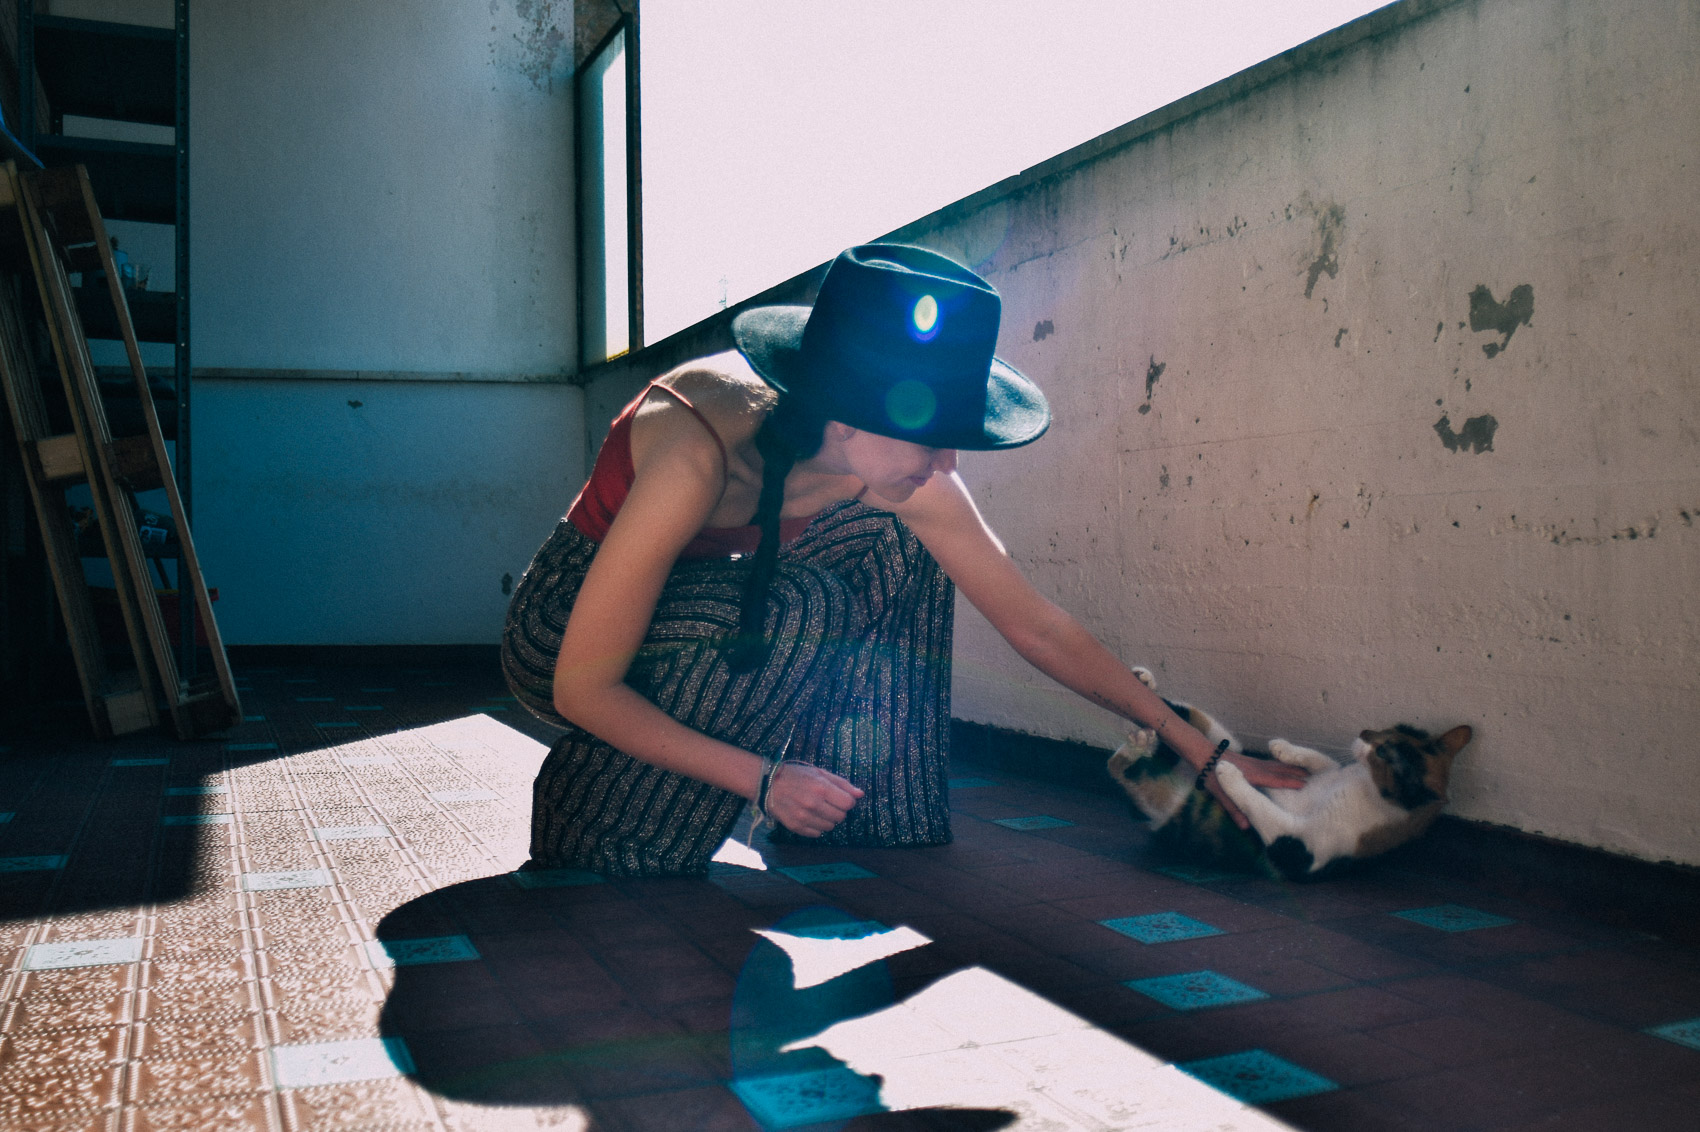
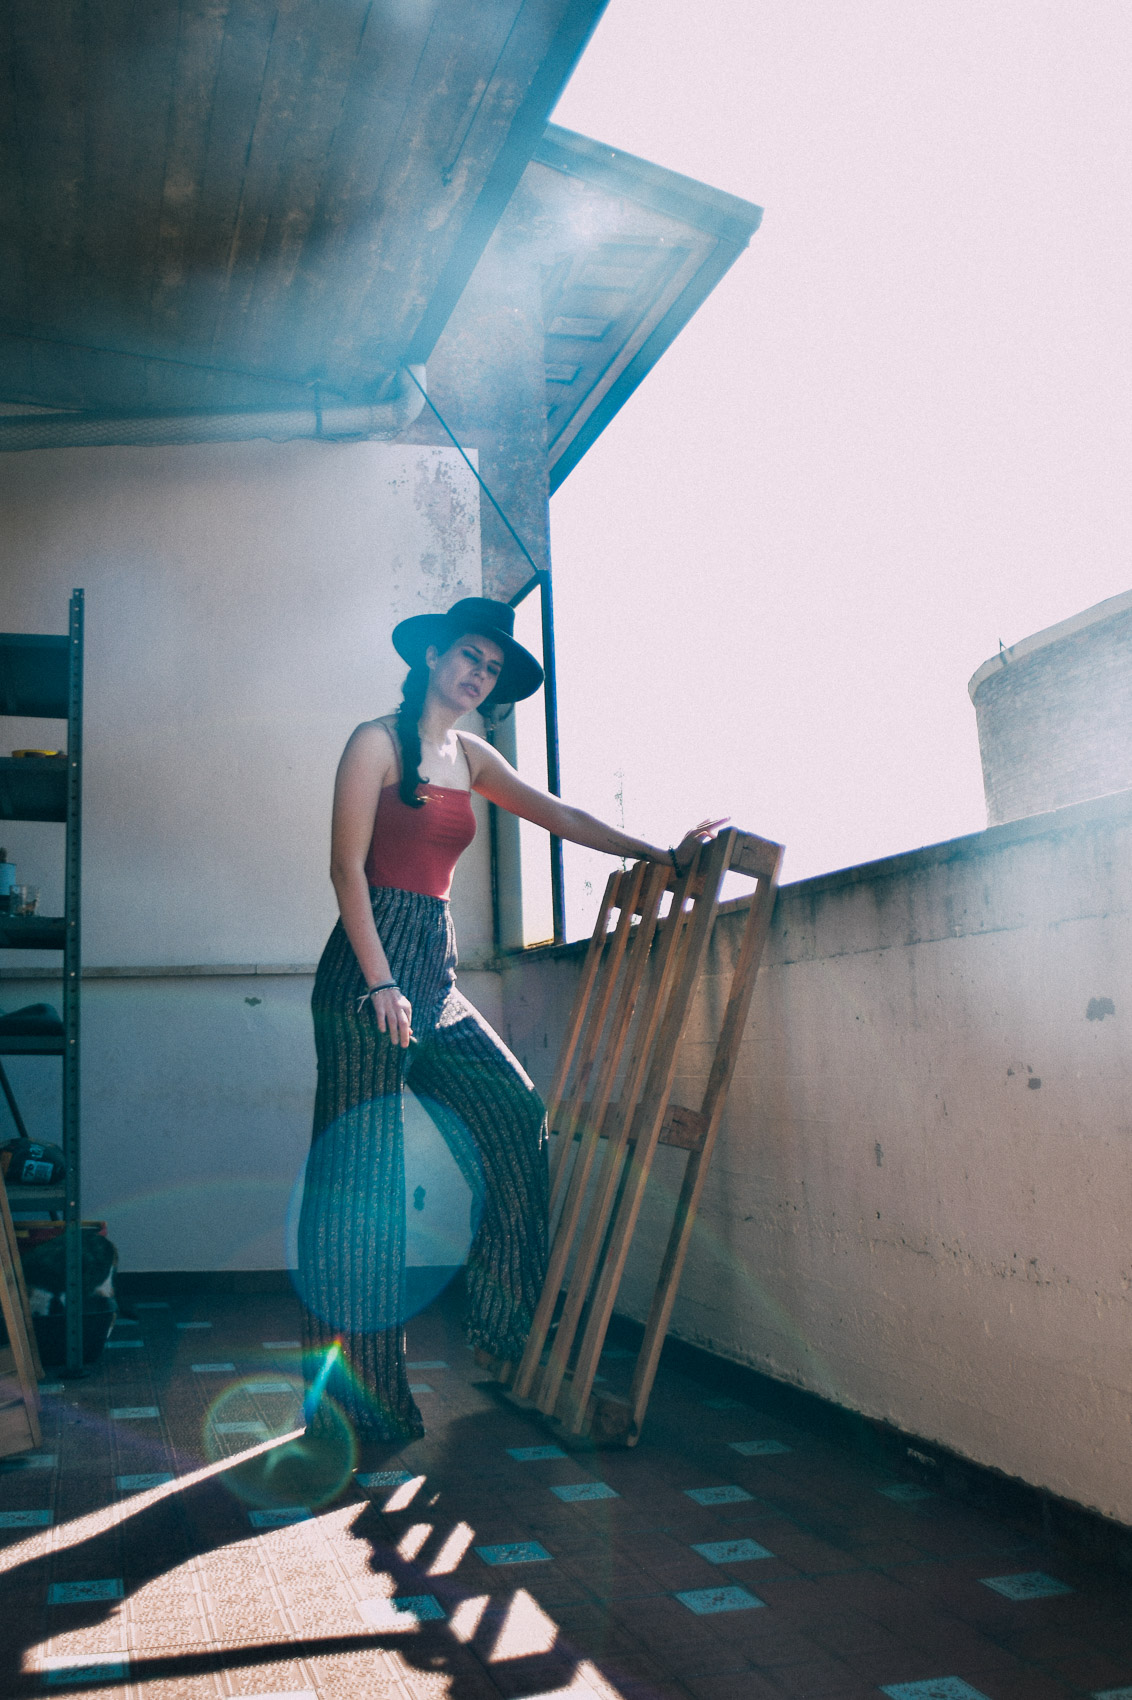
Little fashion break because I have to tell you about the gorgeous set I am wearing in these photographs. Firstly let’s talk about the shiny sparkly pants – how insane are these? Consider size down because they are super high waisted and very stretchy. You can check the trousers section for more ideas or look at some classic jeans.
Second, there is this deep red bodysuit I adore because it’s the comfiest ever! See some black lace bodysuit and the corset dress section. I then paired up everything with a pair of old boots which are invisible due to the length of the pants and a nice black hat.
What I am wearing: Femme Luxe* Pants / Red Bodysuit
Why Behind Blog Photography?
Blog photography or photography for bloggers and for content creators is a field in photography not so much known but there are some tricks that will help you be more confident in front and behind a camera as well.
I hate when photography is explained like a super scientific thesis. I don’t get it! Photography is a fun expression of our work of bloggers – from travel blogger to fashion! – and it is usually one of the most creative side of blogging.
With blogging and photography comes also editing. Is editing a scary word? Well, it has been for me for quite a while. But not now. With social media and all these new apps, you don’t even need to have a master in Photoshop to edit images.
RELATED: Blog Photography Tricks for Beginners

Editing like a pro with your phone or using editing software
These editing tricks I am going to share with you can be used with your phone, using apps (like Snapseed, A color story and many more) or you can use them with professional editing software on your computer (Adobe Photoshop, Lightroom, Capture One to name a few).
There is one important notion that I am eager to share with you because there is a false myth that you need professional tools in order to obtain awesome results. They help it’s true but they are not you.


It’s you who you should invest on.
Take this recharging time to get better in editing or in photography. Read a book on the subject, watch some tutorial on youtube or keep reading posts just like mine.
The real important thing – and this works for photography as well – is that you don’t need to spend a thousand money on software or on presets to have professionally edited images. What you really need is practise and to make mistakes in order to learn.
In fact we were saying that I also did the 2 most common mistakes in editing.

Also, I have more information and some practice of how I edit my images on my free 20+ pages photography guide that you can immediately download. I leave you here the link to access to it. You only have to subscribe to my email list and you will obtain the password for the Free Resources Library (so not only access to the photography guide but to more free resources!!)
The 2 most common editing mistakes every blogger makes
We have said that you can edit on your phone or on your computer, so there are no excuses for tools. Anything would work if you put to practise in it! But which are the two most common mistakes in post-production?
When you start editing photographs easily you get over-excited (my case) or you have a precise idea in mind you want to achieve. So you start doing something you shouldn’t! The number 1 editing mistake in photography is over-editing.

1.Over-editing Images
Imagine you have a bunch of images to edit and you get in the perfect flow. You want to try and try this new filter, change the saturation here and lower a little the high lights here. It’s a never-ending story. And it finished that you end up with over-edited images.
What are exactly over-edited images?
I would say those pictures where you can immediately say that they are too fake and too post-produced. Maybe the contrast is too much, some light parts have become too bright and the color of the skin makes the model look in between an alien and a shrimp.
You can totally feel like something is wrong and the overall look of the images are not so pretty. Now, this has happened to me plenty of time because I get lost in editing. I want to try everything and so the result usually is too much. And very far from my initial idea.
See here below one example of an image too edited in my opinion. If you check the whole imagery in this post you will notice that I wanted to give it a very contrasted and strong look. But the examples here below are two editing mistakes because it is definitely too much. Now let’s go to editing mistake number 2.


2.Using Presets and Filters without any personal adjustments
This is such a common mistake! And again, done! Let’s check it off the list. It is wrong to think that once you buy a Preset or you add a Filter that will magically create the image of your dreams.
Buying or using free Lightroom presets don’t mean you are going to have the images exactly alike the preset image example! Unfortunately, it is not true! I wish it could be but in reality, you have to modify and adjust by yourself the image after having used the preset.
Truth is that every image is one of a kind for colours, lights and shadows so it is impossible to have one fit-for-all preset. What you need to know is that there is space for micro editing in order to adapt the preset to your photo and not viceversa.
Ok very pretty in theory but how do I do it in practice? I know this what you are wondering because it’s fair!
RELATED: Why You Should Improve Your Blog Photography
How to avoid making these two editing mistakes
Let me be clear because after some practise you will notice a big difference in how you edit your images and you will become so much faster! This will save tons of time from editing. Nicer images and more time for you. It’s a win-win situation if you ask me.
So I will share with you my routine of how I was able to improve my over-editing and avoid doing too much. These are the things you should do:
- think before what you want to achieve. Creating an inspirational visual board on Pinterest might be really helpful (keep it private though so you don’t ruin your profile)
- when editing images give yourself a break of 10 minutes and do something else completely. When you come back to see if what you have done is still okay with you or adjust it. Usually, it is really helpful because you distract yourself so when you come back you may notice something different.
- know your presets. Meaning some presets work really well with dark images while others prefer white-background images. Use them accordingly.
- save two images with different editing. If you are unsure on two or more filters or editing, save both images in the two versions: the next day you will see that one sucks while the other is the chosen one. It happens all the time!
- don’t think too much. If you work on your post-production of images for more than one hour for 10 images, well, it’s too much. Simplify. Less is more, remember!
Overall these are some of my photography tricks on how to avoid the two most common editing mistakes: over-editing and using presets without adding any personal adjustments. Of course, I have committed them multiple times but I figured out a way to save some time when editing photographs.
Simplicity! Trying to keep it simple and give a personal style to the photograph is the best tip I can give you.
Then it is up to you, practise editing photographs with your phone or your computer and you will definitely see results and with the time you will be able to create your own personal photography style which is very important for the consistency of your blog, Instagram or Pinterest page. Or anything.
Now let me know: have you ever done on these mistakes? Or there is something else you fall into?

Final Notes
This post was written in collaboration with Femme Luxe.
Photography:
by Foto Pandini while I did the editing.
Camera: Nikon D850
Edits: Adobe Photoshop + Lightoroom
Remember to Pin this post for later!